Subwoofer
Let's have a look at the subwoofer. ![]()
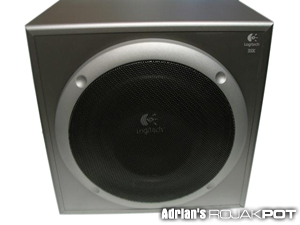
Here's a shot of the the subwoofer's front side. This is one big subwoofer!
![]() You
are now looking at 188 watts RMS of pure bass goodness!
You
are now looking at 188 watts RMS of pure bass goodness! ![]()
You can see a Logitech logo at the upper right hand corner with a THX logo
on it. The subwoofer driver is protected by a 10-inch wire mesh grill. The subwoofer
is very heavy. It's as heavy as it looks. ![]()
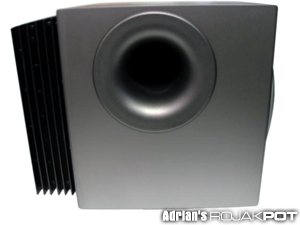
You would undoubtedly have noticed that huge hole at the subwoofer's side. This is because this subwoofer is side-ported.
The side port reinforces the low bass response. This is to deliver much deeper
bass (no argument here! ![]() )
as opposed to the normal sealed subwoofers.
)
as opposed to the normal sealed subwoofers.
This kind of subwoofer is used for hard driving tunes. This means it'll suit
most of you guys out there for your gaming and music enjoyment. The bass from
this subwoofer is just insane! ![]()
![]()
Another thing that would catch your eye is the big chunk of aluminium sticking the back of the subwoofer. That is the part that houses the amplifier that supplies the whole speaker unit with 505 insane watts RMS of power!
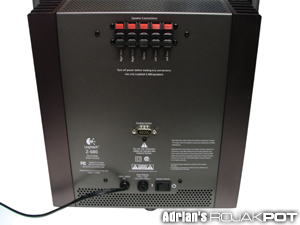
As a result of all of the heat that the 505-watts amplifier produces, Logitech has some aluminum heatsinks slapped on the subwoofer's back. Here's a shot of the backside of the subwoofer. At the very top of the rear panel are the spring clips for the cables.
I absolutely love these connectors. They're so easy to use and it's the same
type of connectors that is found in most home theatre speaker systems. Just
press the spring clip back, slip in the speaker wire lead and release the clip.
That's it!. So easy. ![]()
In the middle section, you'll see a male serial connector. That is for hooking up the Control Pod. At the bottom of the rear panel, you can see the main power switch as well as a fuse.
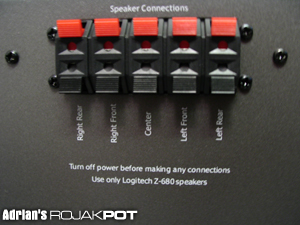
Here's a close up of the speaker connectors.
This shot shows you where to connect the speaker wires into. As I've previously
said, all you need to do is to push the spring clips back and insert the speaker
wire leads into it and then release the clip. ![]()
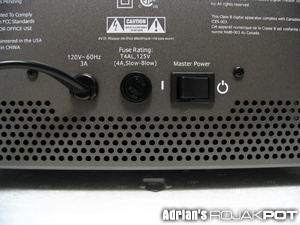
Here's a close up of the subwoofer's lower part.
You can see the power cord coming into the subwoofer on the left. In the middle is the fuse for the unit. At least there is some protection in case of a power surge.
Next to it is the power switch for the subwoofer. Logitech has also been kind
enough to equip the subwoofer with a thermal overload switch. This means that
if the unit starts to overheat, the switch will trip and therefore prevent any
heat-related damage to the amplifier and the speakers. ![]()
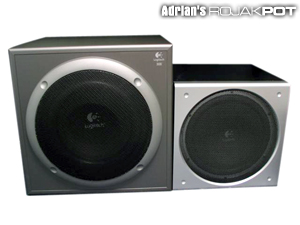
Just to show you how big the subwoofer is, here's a comparison of the Z-680 subwoofer with the Logitech Z-3's subwoofer.
On the left is the Z-680 subwoofer while on the right side is the Logitech
Z-3 subwoofer. Now you can tell how big it is. ![]()
That about covers the subwoofer. Now on to the other speakers! ![]()


 Add to Reddit

