


 Add to Reddit

Step 10 : Turn Off Search Indexing
![]() Search Indexing is useful if you have a particularly slow hard disk drive by allowing for much faster searches of key files. However, it doesn't work very well and is more trouble than it's worth if you have a fast hard disk drive. It's even less useful if you are using a solid state drive because they are very fast at random accesses.
Search Indexing is useful if you have a particularly slow hard disk drive by allowing for much faster searches of key files. However, it doesn't work very well and is more trouble than it's worth if you have a fast hard disk drive. It's even less useful if you are using a solid state drive because they are very fast at random accesses.
Even worse, the Windows Search Indexer constantly writes to the index database with lots of small writes, which may reduce your SSD's performance by gobbling up clean pages to write to. Needless to say, disabling search indexing also reduces wear and tear on the SSD. Finally, disabling it can save you several GBs in storage capacity - of great importance in SSDs because of their limited storage capacity.
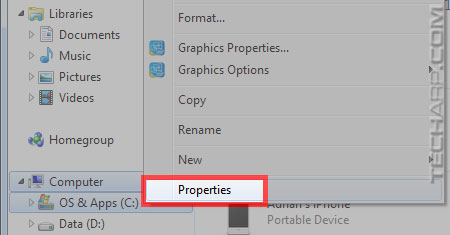
- Access the Properties page of your SSD partitions by right-clicking on their drive letters and selecting Properties (the last option in the list).
-
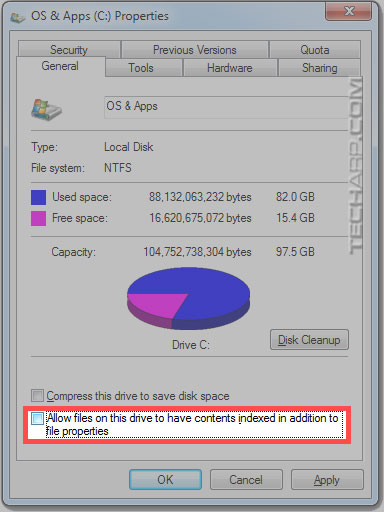
In the Properties page for the SSD partition, untick the checkbox for "Allow files on this drive to have contents indexed in addition to file properties".
-
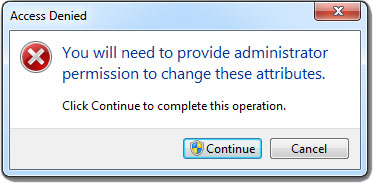
When you OK, Windows will ask you to confirm this.
-
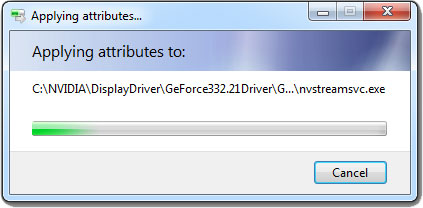
Click Continue and watch as the Windows Search Indexer turns off indexing for the partition.
Repeat this process for all of the SSD partitions, or HDD partitions as well if you prefer.
| If you like this article, please share it! -> |
Step 11 : Move The Search Index Database
Whether you prefer to turn off search indexing for just your SSD partitions or your HDD partitions as well, it's a good idea to move the search index database files to a HDD partition. This is because it defaults to the operating system drive, which is the SSD for obvious reasons. Doing so will save space and reduce wear and tear on your SSD.
- Go to Control Panel -> Indexing Options.
-
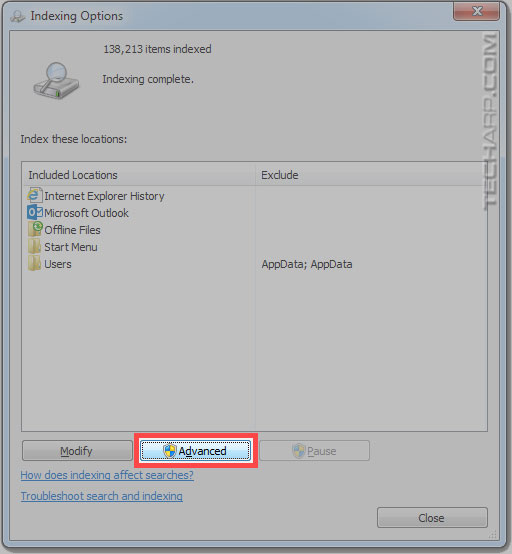
In the Indexing Options window, click on the Advanced button.
-
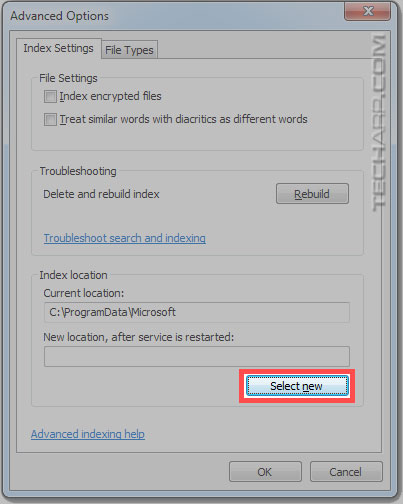
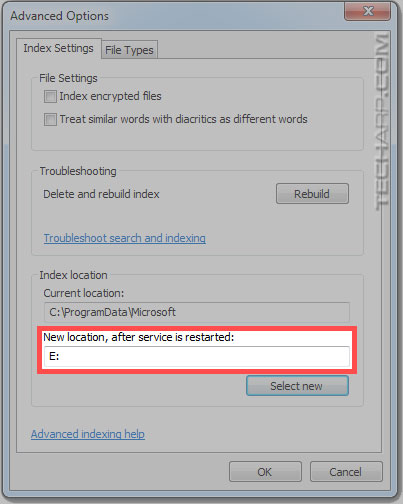
The Advanced Options window will pop-up. Note the Index location is at the default of drive:\ProgramData\Microsoft. However, you can't just type in your preferred new location.
-
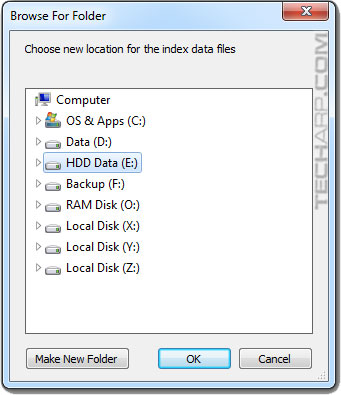
Click Select new and a Browse For Folder window will appear. Select a HDD partition. In this example, we use drive E.
Although there's an option to create a new folder, there's no need to do that. Windows will create a folder called Search to keep all of the search indexer's files.
-
Click OK and you will be returned to the Advanced Options screen. Note that the new location now states E:.
-
Click OK in this screen and Windows will immediately move the Search folder from its current location to its new location, and restart the Search Indexer service.
| If you like this article, please share it! -> |
Support Tech ARP!
If you like our work, you can help support out work by visiting our sponsors, participate in the Tech ARP Forums, or even donate to our fund. Any help you can render is greatly appreciated!
<<< How To Optimize Your SSD : Steps 8 - 9 : Previous Page | Next Page : How To Optimize Your SSD : Steps 12 - 14 >>>
Support us by buying from Amazon.com! |
|
| Grab a FREE 30-day trial of Amazon Prime for free shipping, instant access to 40,000 movies and TV episodes and the Kindle Owners' Lending Library! | |