Zalman CNPS9500 AT
Installation
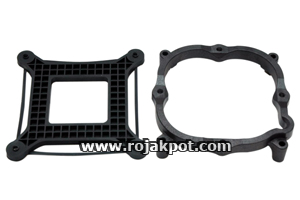
The mounting mechanism consists of two parts - a retention clip and two mounting brackets. The installation of this clip is very straightforward.
The hole on the clip attaches itself to the heatsink base and the two holes are tightened to the mounting brackets using screws. That's it!
The CNPS9500 AT might seem complicated to install, but it's actually really easy. All you need is some common sense. In fact, I managed to install the cooler without even checking the user manual. However, if you do not feel confident about installing the cooler, you can still go through the useful user manual.
If the manual's still not good enough, you can always visit Zalman's official website and view the flash tutorial there. It shows every step clearly. I have to say that Zalman did a good job on that flash tutorial, although it isn't really that necessary. ![]()
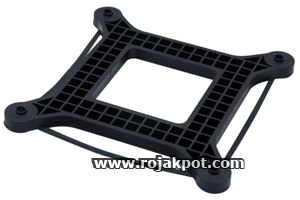
Back to the mounting brackets, the one shown on the left is the backplate which will be positioned at the back of your motherboard and aligned to the mounting holes on your mainboard. After that, simply align the mounting bracket to the mounting holes. Then, tighten it to the backplate with the screws provided. Pretty straightforward, isn't it?
But wait... why are there four mounting holes for the retention clip? Well, they allow you to mount the CNPS9500 in any of the four directions that you want. This very flexible option allows you to direct the airflow from the CNPS9500 towards the exhaust outlet of their casing or the PSU, for example.
If you take advantage of this feature, you can mount the CNPS9500 to exhaust the hot air out of the casing as quickly as possible. This translates into a lower case temperature, which in turn reduces the CPU temperature.
<<< Zalman CNPS9500 AT - Specifications, A Closer Look : Previous Page | Next Page : Zalman CNPS9500 AT - The Fan, Issues >>>


 Add to Reddit


