Installation
The installation of this cooler is pretty simple because it fits into the normal Pentium 4 retention bracket. It is not necessary to remove the motherboard from the case, as you will not need to do anything to the Pentium 4 bracket.
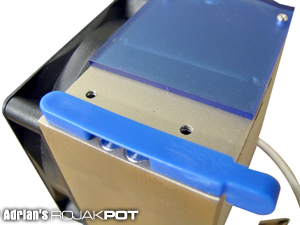
Before you install the cooler, you must first attach the mounting module onto the heatsink. It is a fairly straightforward procedure. Spire probably left the mounting module off the heatsink to allow for more compact packaging.
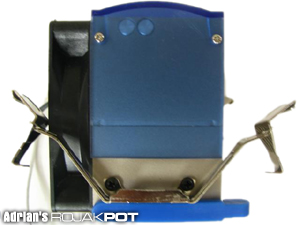
The mounting clips are simply placed on the screw holes on the heatsink and tightened.
The first thing to do is to align the holes on the mounting mechanism with those on the heatsink.
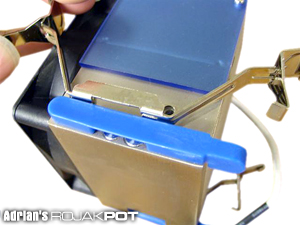
The mounting clips are put in place
Naturally, once the holes are aligned correctly, fasten the screws provided and tighten securely.

The mounting clips being screwed on
Once the four screws are tightened, your CoolGate is ready to be mounted!
With the clips attached, we proceeded to mount the CoolGate onto the processor. However, we had some difficulty doing so. The cooler didn't go in properly as the blue plastic strips on its base kept getting caught on the bracket.
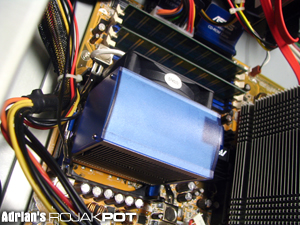
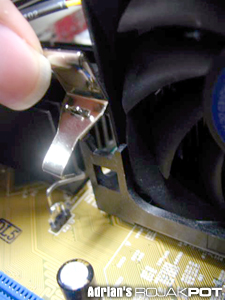
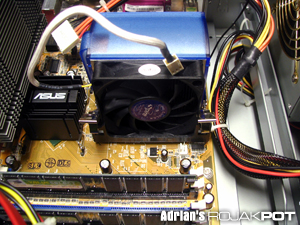
Another problem we encountered was the way the clips hampered our attempts to get the cooler in place. After some struggle, we managed to finally get it in. Here's a picture of the cooler about to be clipped into place.
The cooler was installed in the usual manner, with all four locks locked into the bracket.
After properly fastening all four clips, the 3-pin connector is inserted into the motherboard 3-pin power connector. Now, it's ready to go!
Now that the CoolGate is installed, all that's left is to boot up the computer and start overclocking! We took our new CoolGate out on a 'test drive'.
-->
<<< Heatsink Base : Previous Page | Next Page : Test Bed, Testing Methodology, Results, Evaluation >>>


 Add to Reddit

