Installation
Installation of Zalman graphics card coolers was never a great experience for us in the past. However, we are happy to say that the Zalman VF700-AlCu is much easier to install.
This is mostly thanks to its single-piece design, unlike the ZM80-HP series which use a complicated setup of two heatsink bases, two main heatsinks, heatpipe(s). Not only that, their previous designs requirede tons of thermal paste!
While the installation process of the VF700-AlCu is a lot less painless, it still involves small screws, bolts, studs, and even rubber washers! So, don't expect something as intuitive as Lego!
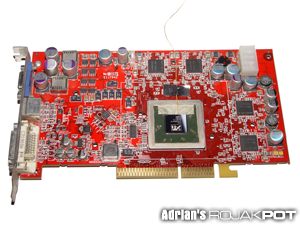
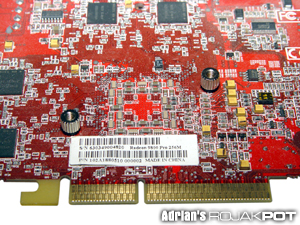
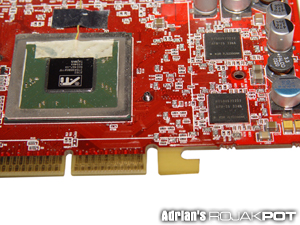
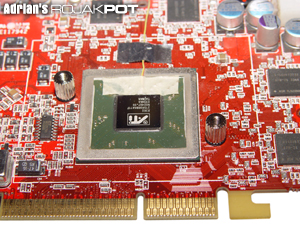
First of all, align the mounting holes on the VF700-AlCu with those on the card. Then you need to install two studs for each mounting hole on both the front and back of the card.
Matching and screwing both studs are not as easy as it seems to be, because the front rubber washer will move about if you try to lift the card.
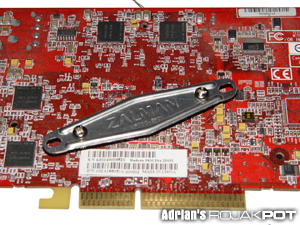
After installing the studs, the rest is a piece of cake. The next step would be to install the 'brace plate'. I'm not sure what's the purpose of the brace plate. It probably provides additional support to the card. Maybe like the strut bar on cars?
Finally, align the heatsink with the studs on the card, and then screw two bolts to attach the cooler onto the card. Don't forget to apply thermal paste first!
This installation process is far less complicated than what we encountered with Zalman's heatpipe coolers. There are still room for improvement though.
Maybe they could modify the installation process so that the brace plate is installed first, before installing the front studs. But in all fairness, we can't really blame Zalman for this rather tedious process as it ensures good compatibility across a wide range of cards.
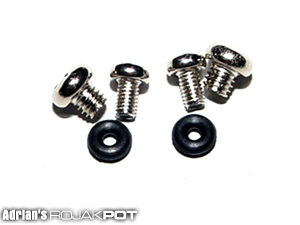
These are the extra screws and washers after installing everything.
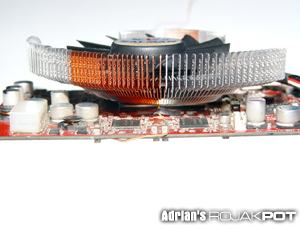
As expected, the cooler takes up the PCI slot right next to AGP/PCI Express slot.
-->
<<< RAM Heatsinks, Fans, Miscellaneous Parts : Previous Page | Next Page : Test Bed, Testing Methodology, Test Results >>>


 Add to Reddit

