Installing The CPU Cooler
Please note that it is recommended that you first install the motherboard into the chassis before installing the cooler. This is especially important for third-party coolers which tend to be larger and much heavier than the stock Core i7 cooler. Moving the motherboard with a heavy cooler installed may damage it.
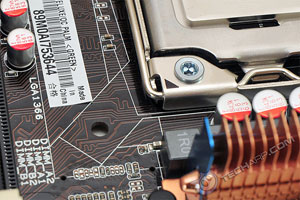
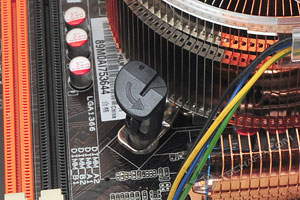
Step 9 : The motherboard will have four mounting holes like the one you see above. This is where the cooler fasteners lock into the motherboard.
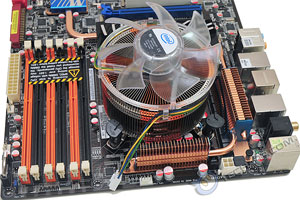
Step 10 : Align the cooler over the CPU and make sure the four fasteners align with the four mounting holes.
Step 11 : Select two (2) fasteners that are diagonally opposite each other. Never install the fasteners on the same side as the cooler may exert too much pressure on the CPU heatspreader and damage it.
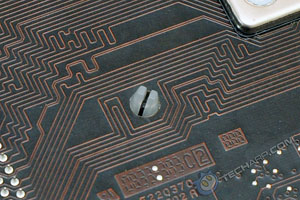
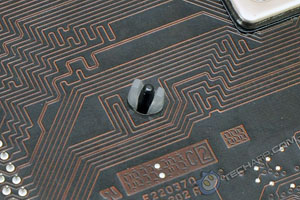
Step 12 : Press down on the two selected fasteners simultaneously. This locks the fasteners into the mounting holes.
Step 13 : Repeat Step 12 for the other two fasteners. Remember to press down on both fasteners simultaneously.
Note : If you want to remove the fasteners, just twist it counter-clockwise (as the arrow shows). The fastener will pop up and once you have all four fasteners unlocked, you can remove the cooler. Twisting the cooler will break the suction created by the thermal paste and allow you to easily remove the cooler.
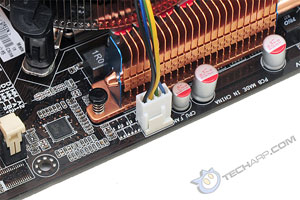
Step 14 : After installing the cooler, the final step is to install the fan's power connector. Just slide it over the CPU fan header and you are done!
Support Tech ARP!
If you like our work, you can help support out work by visiting our sponsors, participate in the Tech ARP Forums, or even donate to our fund. Any help you can render is greatly appreciated!
|
|
Page |
Topic |
|
1 |
|||
2 |
|||
3 |
|||
4 |
|||
5 |
|||
6 |
• Dual / Triple Memory Channel Operation |
||
7 |
• Installing The Memory Modules |
<<< Before You Install The CPU Cooler : Previous Page | Next Page : Before You Install The Memory Modules >>>


 Add to Reddit

