Installation
The package was pretty complete and came with all the necessary components to install the Hyper212 onto AMD Socket AM2/940/939/754 or Intel Socket LGA775 motherboards. They even included the brackets and screws for the additional fan. All you need to install the Hyper212 is a standard screwdriver with a Phillip’s head.
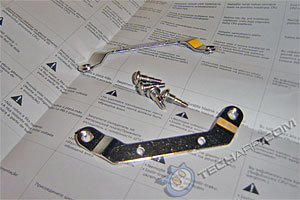
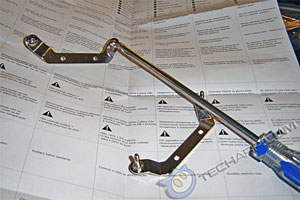
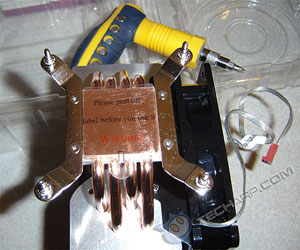
Let’s start by selecting the proper brackets from the package. In this example, we will be installing the Hyper212 onto a LGA775 motherboard using an Intel Core 2 Duo E6550 processor. Start by screwing the 4 studs into the two metal brackets (first picture below). These will be used to secure the cooler to the motherboard later. Then fasten the two brackets to the base of the heatsink with the provided screws (see the second picture below).
Before I continue with the installation of the cooler, I will show how to install the additional fan. Not only does the fan have to be attached before the Hyper212 is installed, the Hyper212 requires the motherboard to be removed for installation. As such, attaching the second fan would be the last easy step. After that, it would be as Alice Cooper said “Welcome To My Nightmare”!
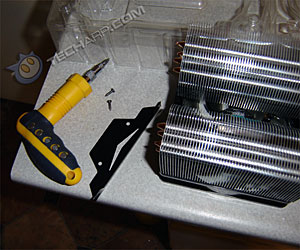
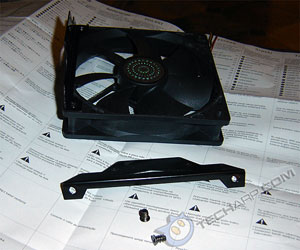
Installing the second fan is a breeze. One of the fan brackets have already been preinstalled. Start by removing it. Then mount both fan brackets to the fan with the four provided screws.
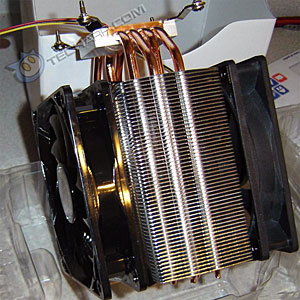
Once that's done, mount the fan and bracket assembly onto the cooler with four screws (including two you originally took out earlier when you removed the preinstalled fan bracket).
That's it. The second fan has been installed. Now, let’s move onto the Hyper212's installation onto the motherboard.


 Add to Reddit

